
That beautiful sleigh bed with its graceful, sweeping curves has been the centerpiece of your bedroom for years. Now you need to move it through a narrow doorway or down a tight staircase, and suddenly those elegant curves feel more like obstacles than assets. Unlike standard bed frames with straightforward connections, how to take apart a sleigh bed frame requires specialized knowledge to avoid damaging the distinctive curved headboard and footboard. This comprehensive guide gives you the exact process to disassemble your sleigh bed safely, keep all components organized, and ensure smooth reassembly—whether you’re moving across town or simply rearranging your bedroom.
Most people attempt to wrestle their sleigh bed through doorways only to discover the hard way that the curved design won’t cooperate. The frustration of scratched walls, damaged wood finishes, and lost hardware can turn what should be a simple task into a nightmare. By following these precise steps, you’ll save hours of struggle, protect your investment, and avoid the costly mistake of forcing connections that were never meant to bend. You’ll learn professional techniques for identifying hidden fasteners, safely separating curved components, and organizing hardware so reassembly feels like putting together a puzzle with all the pieces right where you need them.
Why Sleigh Bed Frames Require Special Disassembly Techniques
Sleigh beds present unique challenges because their signature curved headboards and footboards aren’t designed with easy disassembly in mind. Unlike platform beds with visible bolts at each corner, sleigh beds often conceal connection points within the curved wood structure itself. The continuous curve from headboard to footboard creates structural integrity but makes identifying separation points difficult for first-time disassemblers. Most modern sleigh beds connect through bed rail fasteners hidden behind plastic caps on the inside of the posts—locations you’d never find without knowing exactly where to look.
Attempting to force separation without proper technique often leads to stripped hardware, cracked wood at stress points, or permanent damage to the elegant finish. The weight distribution also works against you; those beautiful curves concentrate weight toward the center, making the headboard and footboard surprisingly heavy despite their graceful appearance. Understanding these structural nuances before you begin prevents costly mistakes and ensures your sleigh bed survives the move intact.
Must-Have Tools for Sleigh Bed Frame Disassembly (No Stripped Screws!)
Skip this critical preparation step, and you’ll likely face stripped bolts or damaged wood surfaces when removing your sleigh bed frame. You need these specific tools before touching a single connection:
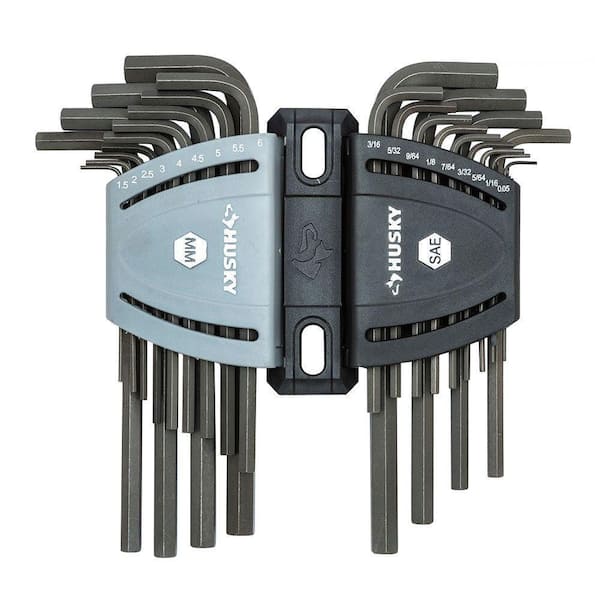
- Precision hex key set (3mm, 4mm, and 5mm sizes) – Most modern sleigh beds use metric bolts
- Rubber mallet – For gently persuading stuck connections without marring wood
- Phillips #2 screwdriver – For any visible screws on slat supports
- Flashlight – Essential for locating hidden fasteners in recessed holes
- Work gloves with grip – Protects hands from splinters during heavy lifting
Pro tip: Keep a small container nearby specifically for hardware removal. Drop each bolt, washer, and nut directly into this container as you remove it—never place hardware on the floor where it can roll away or get mixed with other household items.
Complete Bedroom Clearance for Safe Sleigh Bed Disassembly
Before attempting how to take apart a sleigh bed frame, create a workspace that prevents accidental damage to both your furniture and flooring. Start by removing all bedding layers completely—mattress, box spring, mattress protector, and even fitted sheets. Many DIYers forget that residual bedding creates instability when lifting heavy components.
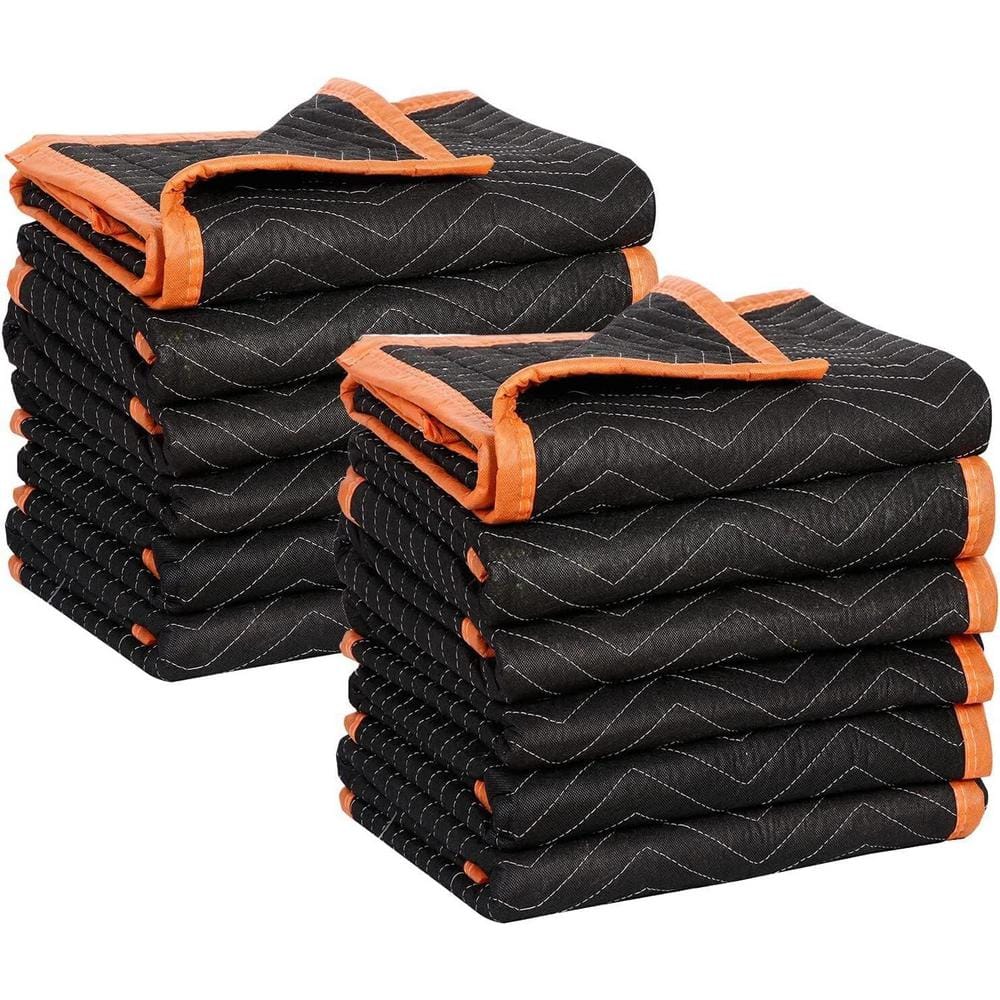
Clear a 5-foot perimeter around the bed by moving nightstands, area rugs, and lamps. This gives you room to lay disassembled pieces flat without risk of scratching. For hardwood or delicate flooring, place moving blankets underneath the bed frame before starting disassembly—those heavy curved posts can dent unprotected floors during removal. Finally, remove any wall hangings near the bed; when maneuvering large curved components, you’ll appreciate the extra clearance.
Locating Hidden Fasteners on Your Sleigh Bed’s Curved Posts

The most common mistake when learning how to take apart a sleigh bed frame is missing the concealed connection points. Run your fingers along the inside of both headboard and footboard posts, about 6-8 inches from the bottom. You’ll feel small plastic caps covering recessed bolt holes—these hide the actual fasteners connecting to the side rails.
Use a flathead screwdriver wrapped in masking tape (to prevent scratching) to gently pry out these caps. Most caps snap back in place for reassembly, so don’t discard them. Underneath, you’ll find either hex bolts or specialized bed rail fasteners that require specific tools. If your sleigh bed is older, check for wooden dowels instead of metal fasteners—these require a different removal technique involving gentle tapping with a rubber mallet.
Step-by-Step: Separating Headboard from Side Rails on Sleigh Beds
With fasteners exposed, follow this precise sequence to avoid damaging your sleigh bed frame:
- Position yourself at the head of the bed with your helper at the foot
- Insert the correct hex key into the top bolt and turn counter-clockwise—apply steady pressure without forcing
- After loosening 2-3 full turns, switch to the bottom bolt on the same side
- Alternate between top and bottom bolts, loosening each incrementally to prevent binding
- Once fully loosened, have your helper support the side rail while you remove the final turns
Critical warning: Never remove both bolts on one side completely before starting the other side. This uneven pressure can crack the curved wood at the connection point. Maintain balanced tension throughout the process.
Removing Footboard Connections Without Damaging the Sleek Finish
The footboard presents unique challenges because its curves often create tighter access angles. Before attempting removal, place a folded towel against the footboard where your tools might slip—this protects the finish from accidental scratches. Work methodically:
- Start with the center support bracket if present (usually visible beneath the mattress area)
- Loosen footboard connections using the same alternating technique as the headboard
- For stubborn connections, apply penetrating oil around the bolt shaft and wait 10 minutes
- When fully separated, immediately label “FOOTBOARD” on masking tape attached to the piece
Time-saving tip: Take a photo with your phone showing the exact orientation of the footboard before removal. Many sleigh beds have subtle differences between front and back that aren’t obvious until reassembly time.
Professional Hardware Organization Techniques for Stress-Free Reassembly
Losing just one specialized fastener can derail your entire reassembly process. Implement this professional organizer’s method:
- Place all hardware from one connection point into a labeled baggie (“Headboard Left Top”)
- Tape these baggies directly to the corresponding frame component
- Take multiple photos showing how components connect from different angles
- Sketch a simple diagram of the bed’s structure with numbered connection points
Don’t skip this: For beds with wooden dowels instead of bolts, wrap each dowel in tissue paper before storage. Exposure to dry air can cause slight shrinkage that makes reinsertion difficult months later.
Protecting Delicate Curved Wood During Sleigh Bed Frame Transport
Those elegant curves are vulnerable points during transport. Wrap each curved component separately using this method:
- Start with a layer of bubble wrap focused on high-contact areas (corners, curves)
- Add a second layer of moving blankets secured with packing tape (not duct tape!)
- Stack flat components between curved pieces to maximize space without pressure points
- Never stack more than three pieces high, and always place heaviest components on the bottom
Critical mistake to avoid: Don’t secure curved wood directly against truck walls with ratchet straps. The constant vibration during transit will cause microscopic scratches that degrade the finish over time. Instead, create buffer zones with additional blankets.
Reassembling Your Sleigh Bed: Avoiding the Most Common Mistakes
Reassembly requires equal precision to disassembly. Follow this sequence to prevent wobbling or instability:
- Position headboard and footboard on protective blankets
- Attach side rails using hand-tightening only—no tools yet
- Verify all connection points align perfectly before applying torque
- Tighten bolts in a star pattern (top-left, bottom-right, top-right, bottom-left)
- Final tightening should require no more than medium hand pressure
Expert note: If connections feel tight during reassembly, stop immediately. Forcing components can crack the wood. Instead, check your orientation photos—most “stuck” connections result from reversed components.
Testing Stability After Sleigh Bed Frame Reassembly
Your final quality check determines whether your bed will last for years or develop annoying creaks. Perform these stability tests:
- Apply firm downward pressure on all four corners simultaneously
- Rock the frame side-to-side with moderate force
- Listen for any subtle cracking sounds indicating misaligned joints
- Check that all slats sit perfectly level with no gaps
If you detect instability, systematically recheck each connection point rather than randomly tightening bolts. Often, just one misaligned component causes disproportionate wobble throughout the entire structure.
When to Call Professionals for Vintage or Damaged Sleigh Beds
While most modern sleigh beds follow standard construction, antique or custom-made frames may require specialized knowledge. Call a furniture restoration professional if you encounter:
- Wooden joints without visible fasteners (traditional mortise and tenon)
- Evidence of previous repairs with non-standard materials
- Cracks or splits in the curved wood sections
- Unfamiliar hardware types that resist standard removal
Attempting DIY disassembly on these complex frames often causes irreversible damage that decreases both structural integrity and resale value. The modest cost of professional assistance pales in comparison to replacing irreplaceable antique furniture.
Taking apart a sleigh bed frame doesn’t have to be a stressful ordeal. By following these precise steps for how to take apart a sleigh bed frame, you protect your investment while gaining confidence in handling complex furniture. Remember the golden rule: when in doubt, stop and reassess rather than forcing connections. Proper preparation, careful organization, and respect for the unique curved design ensure your sleigh bed transitions smoothly to its new location—ready to anchor your bedroom with the same elegance it always has. Keep this guide handy for your next move, and consider sharing these professional techniques with friends facing the same curved bed challenge.


