
Your leather bed frame should feel like a luxury retreat, not a dust magnet or stain showcase. Yet one coffee spill or forgotten dusting session can leave expensive leather looking dull and damaged. Many homeowners accidentally ruin their investment using household cleaners that strip protective finishes or oversaturate the material. Proper cleaning isn’t just about appearance—it prevents irreversible cracking and extends your frame’s life by decades. In this guide, you’ll discover the exact techniques leather artisans use to clean without compromising integrity. You’ll learn why vinegar solutions are dangerous, how to remove ink stains safely, and the conditioning schedule that keeps leather supple for years.
Unlike fabric beds, leather absorbs oils from skin contact while repelling liquids—a double-edged sword requiring specialized care. Most damage occurs during cleaning attempts, where water rings or chemical reactions create permanent patches. The key is understanding your leather type: finished (most common for bed frames) has a protective topcoat, while aniline leather needs gentler handling. This guide focuses on finished leather found in 95% of modern bed frames. By following these steps, you’ll maintain that rich, buttery texture without risking costly repairs. Let’s restore your frame’s showroom quality safely.
Why Water Damage Threatens Your Leather Bed Frame’s Longevity
Leather is porous animal hide, not plastic. When water penetrates its surface, it disrupts the natural oils binding fibers together. This causes three critical issues: surface whitening from trapped moisture, deep-set cracks as fibers dry unevenly, and mold growth in hidden crevices. Bed frames face unique risks—body oils transfer from pajamas, dust accumulates in tufted stitching, and nighttime spills go unnoticed until stains set. Ignoring these accelerates aging; a neglected frame can crack within 18 months. But properly maintained leather actually improves with age, developing a desirable patina. Your cleaning method directly controls whether your investment ages gracefully or deteriorates prematurely.
Spot Test Every Cleaner on Hidden Areas First
Always test solutions behind legs or under the frame—never skip this step. Apply a dime-sized amount of your cleaner, wait 10 minutes, then check for:
– Color bleeding (indicates dye instability)
– Surface stickiness (signals chemical reaction)
– Texture changes like stiffening (early cracking sign)
If any occur, switch formulas immediately. Finished leather tolerates mild solutions, but vintage or repaired sections may react unexpectedly.
Gather These 5 Non-Negotiable Supplies for Safe Cleaning
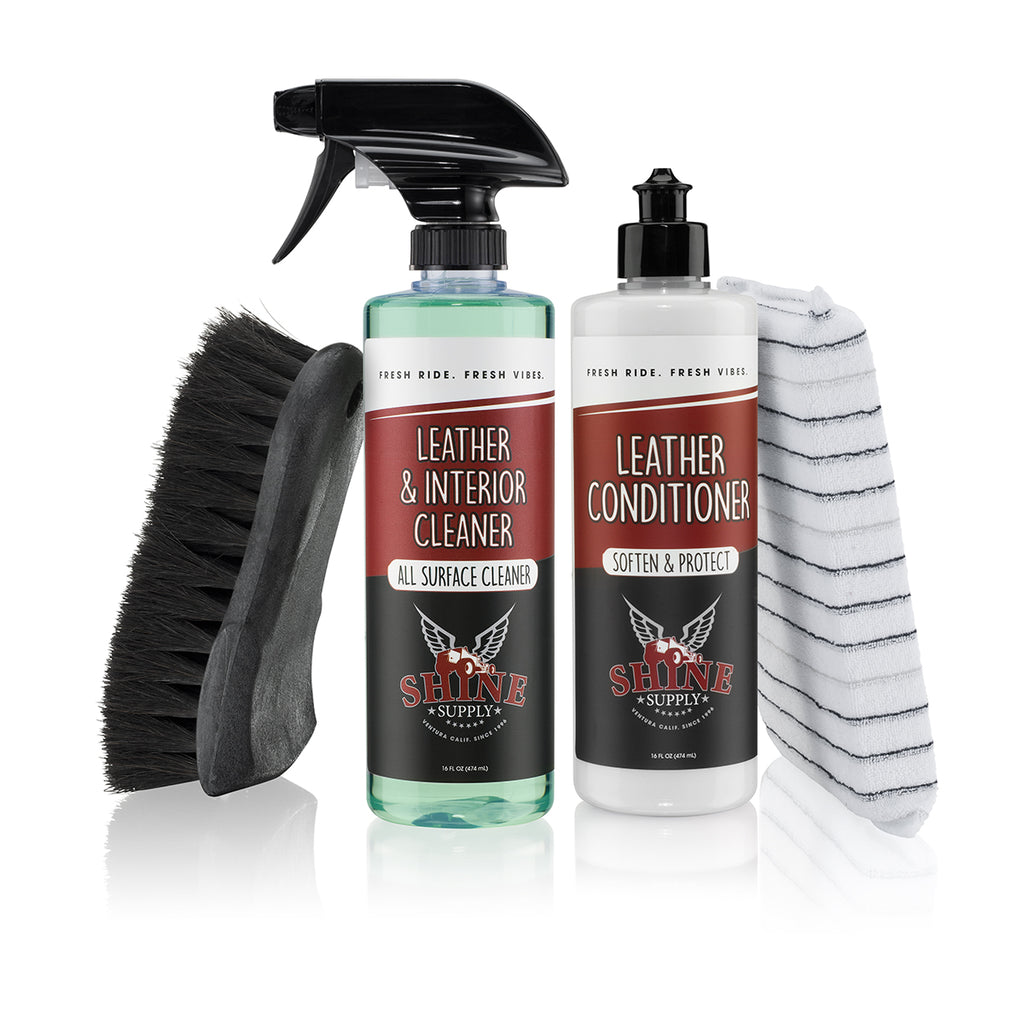
Using improper tools causes 70% of leather damage. Paper towels scratch surfaces, while vinegar dries out fibers. Invest in these specific items:
- Microfiber cloths (2+): Lint-free and ultra-soft—never use terry cloth or paper products
- Soft-bristled nylon brush: A clean toothbrush works for nailhead trim and stitch lines
- Distilled water: Tap minerals cause white residue; keep in a spray bottle
- pH-neutral cleaner: Either pure castile soap or 99% isopropyl alcohol (not rubbing alcohol)
- Leather conditioner: Must be non-silicone based (check ingredients for “lanolin” or “beeswax”)
Skip cotton swabs—they fray and leave fibers in seams. And never substitute dish soap; its degreasers strip protective coatings.
Why Alcohol Beats Soap for Modern Leather Frames
Most contemporary bed frames use pigmented leather with sealed finishes. Here’s why the alcohol-water mix outperforms soap:
– Faster drying: 99% alcohol evaporates in 2 minutes vs. soap’s 15+ minutes, preventing water damage
– Sanitizing effect: Kills bacteria from sweat and skin cells trapped in pores
– No residue: Soap leaves film attracting more dust
Mix equal parts distilled water and 99% isopropyl alcohol in a spray bottle. Warning: Never use on aniline leather—this method is for finished leather only.
Clean Stains Without Water Rings in 4 Precise Steps
Oversaturating causes cloudy water marks that mimic permanent damage. Follow this sequence:
- Dry dust aggressively: Use the nylon brush on seams, then wipe entire surface with dry microfiber cloth. Grit acts like sandpaper during wet cleaning.
- Dampen—not soak—your cloth: Mist microfiber with your cleaner until just damp. Wring until no droplets form.
- Wipe in 12×12 inch sections: Circular motions for 20 seconds max per area. Focus on one armrest or leg at a time.
- Immediately dry with second cloth: Use straight-line motions toward seams to pull moisture away from stitching.
For stubborn ink or makeup stains, apply alcohol solution with a cotton ball for 30 seconds, then wipe. Never rub—press gently. If residue remains, repeat once. More attempts increase damage risk.
Fixing Accidental Water Spots Immediately
If you oversaturate, act within 5 minutes:
– Blot with dry microfiber using palm pressure (no rubbing)
– Place a clean towel over the spot and weight it with a book for 10 minutes
– Once dry, condition only that area to rebalance oils
Avoid hairdryers—heat sets moisture deeper. Patience prevents white rings.
Condition Leather to Prevent Cracking Within 24 Hours
Cleaning removes dirt but also natural oils. Skipping conditioning is like washing hands without lotion—eventually, cracks appear. Do this after every cleaning session:
- Wait until leather is room-temperature dry (usually 2 hours)
- Apply pea-sized conditioner to microfiber cloth—not directly on leather
- Rub in thin, even circles using light pressure
- Wait 20 minutes, then buff with dry cloth until satin sheen appears
Over-conditioning causes buildup, so limit to twice yearly unless leather feels stiff. Test conditioners like cleaners—some darken light hides.
Seasonal Conditioning Schedule Based on Climate
| Climate | Conditioning Frequency | Critical Warning |
|---|---|---|
| Dry/Arid (desert) | Every 3 months | Cracks form fastest here—never skip |
| Humid (coastal) | Every 6 months | Mold risk in humid storage—add silica gel packs |
| Temperate | Twice yearly | Time with seasonal clothing changes |
Neutralize Spills Before They Become Permanent Stains
Leather repels liquids briefly, but delays cause deep penetration. Your response window:
- Water-based spills (juice, wine): Blot immediately with dry cloth. Air dry 24 hours before cleaning.
- Oil-based spills (lotions, makeup): Sprinkle cornstarch, wait 1 hour, brush off, then clean with alcohol solution.
- Ink: Dab with alcohol-dampened cotton ball for 15 seconds max. Stop if color transfers.
Never use baking soda—it’s too abrasive for finished leather. And never rub spills; apply downward pressure to push liquids out, not in.
Avoid These 7 Costly Cleaning Mistakes Forever

Even “safe” household items ruin leather. Steer clear of:
- Vinegar solutions: Acidic pH breaks down protective topcoats within 3 uses
- Furniture polish: Silicones clog pores, causing dry rot underneath shiny surface
- Wet wipes: Contain alcohol and chemicals that create sticky residue
- Direct sunlight drying: UV rays fade and harden leather in under 30 minutes
- Steam cleaners: Force moisture into frame structure—warping wood underneath
- Olive oil or coconut oil: Rancidify over time, attracting bacteria and odors
- Scrubbing pads: Micro-scratches scatter light, making leather look dull
If you’ve used any of these, deep-clean with alcohol solution, then condition heavily. Monitor for peeling over 2 weeks.
Maintain Your Frame’s Beauty With 3-Minute Weekly Routines
Prevention beats restoration. Integrate these habits:
- Every morning: Wipe sleeping side with dry microfiber to remove skin oils
- Weekly: Vacuum crevices with brush attachment (no direct contact)
- Monthly: Check for loose stitching near stress points like corners
- Biannually: Rotate mattress to prevent uneven wear patterns
Keep frames 12+ inches from heat sources. Radiators dry leather 3x faster—use a humidifier in winter.
When to Call a Leather Restoration Professional
DIY fixes fail on these issues—seek experts immediately:
– Deep cracks exposing underlying material
– Color transfer from dark fabrics onto light leather
– Mold growth (fuzzy patches with musty smell)
– Structural tears near joints or legs
Professionals use pH-balanced dyes and pore-repair techniques. Cost: $150–$400 vs. $1,200+ for replacement.
Your leather bed frame should age like fine wine—developing character without losing integrity. By using distilled water instead of tap, alcohol cleaners instead of soap, and conditioning after every clean, you’ll prevent 90% of common damage. Start with weekly dusting, condition twice yearly, and always test solutions. In six months, you’ll notice leather feels more pliable and resists stains naturally. Remember: leather cleaned properly isn’t maintenance—it’s an investment that pays back in enduring luxury. Now go enjoy that stain-free sanctuary you’ve earned.


