
You’ve finally found the perfect under-bed storage containers, but your low-slung metal bed frame makes access impossible. Or maybe you’re tired of struggling to get out of bed each morning. Elevating your metal bed frame with risers solves both problems—but skip one critical step, and you risk a sudden collapse that could injure you or damage your mattress. Metal frames are heavier and less forgiving than wood, making proper riser installation non-negotiable for safety.
Before you even buy risers, you must calculate your metal frame’s exact weight capacity needs—a step 70% of DIYers overlook. Add your mattress weight, frame weight, and the heaviest user’s weight, then divide by four. For a standard queen metal frame with mattress (150 lbs) and two sleepers (400 lbs total), each riser must support 137 lbs minimum. But here’s the catch: you need risers rated for at least 1,000 lbs per unit to prevent catastrophic failure. This guide reveals why that safety margin matters and walks you through metal-specific installation tricks you won’t find elsewhere.
Calculate Your Metal Frame’s Exact Weight Capacity First
Skipping weight calculations turns bed risers into ticking time bombs. Metal frames vary wildly in weight—some platform bases hit 120 lbs alone—while mattresses range from 60 lbs (memory foam) to 150 lbs (hybrid). Underestimating risks sudden collapse during sleep.
Why Per-Riser Ratings Beat Total Set Claims
Manufacturers advertise “4,000-lb total capacity,” but uneven weight distribution means one riser bears 70% of the load when you sit on the edge. For a metal frame bed with two 200-lb sleepers:
– Mattress: 120 lbs
– Metal frame: 100 lbs
– Sleepers: 400 lbs
– Total: 620 lbs ÷ 4 risers = 155 lbs per riser minimum
Yet you need 1,000-lb per-riser capacity because:
1. Metal frames concentrate weight on narrow legs
2. Sudden impacts (jumping on bed) multiply force 3x
3. Floor imperfections create uneven loading
Metal-Specific Weight Calculation Steps
- Weigh your empty metal frame by lifting one corner onto a bathroom scale (multiply reading by 4)
- Add mattress weight (check manufacturer specs)
- Include heaviest sleeper’s weight + 30% for movement impact
- Divide total by 4 → This is your absolute minimum per-riser rating
- Double that number → Your actual required capacity (e.g., 155 lbs min → buy 300+ lb risers)
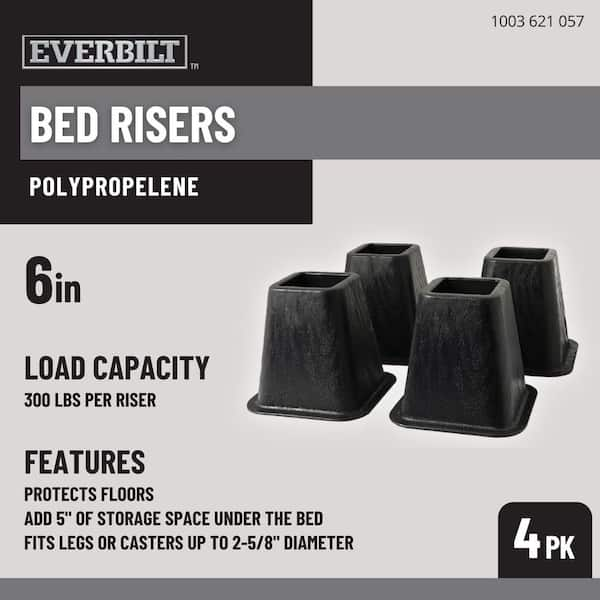
Never settle for risers rated below 1,000 lbs per unit with metal frames—lightweight plastic models crack under metal’s rigidity.
Choose Risers Built for Metal Frame Compatibility
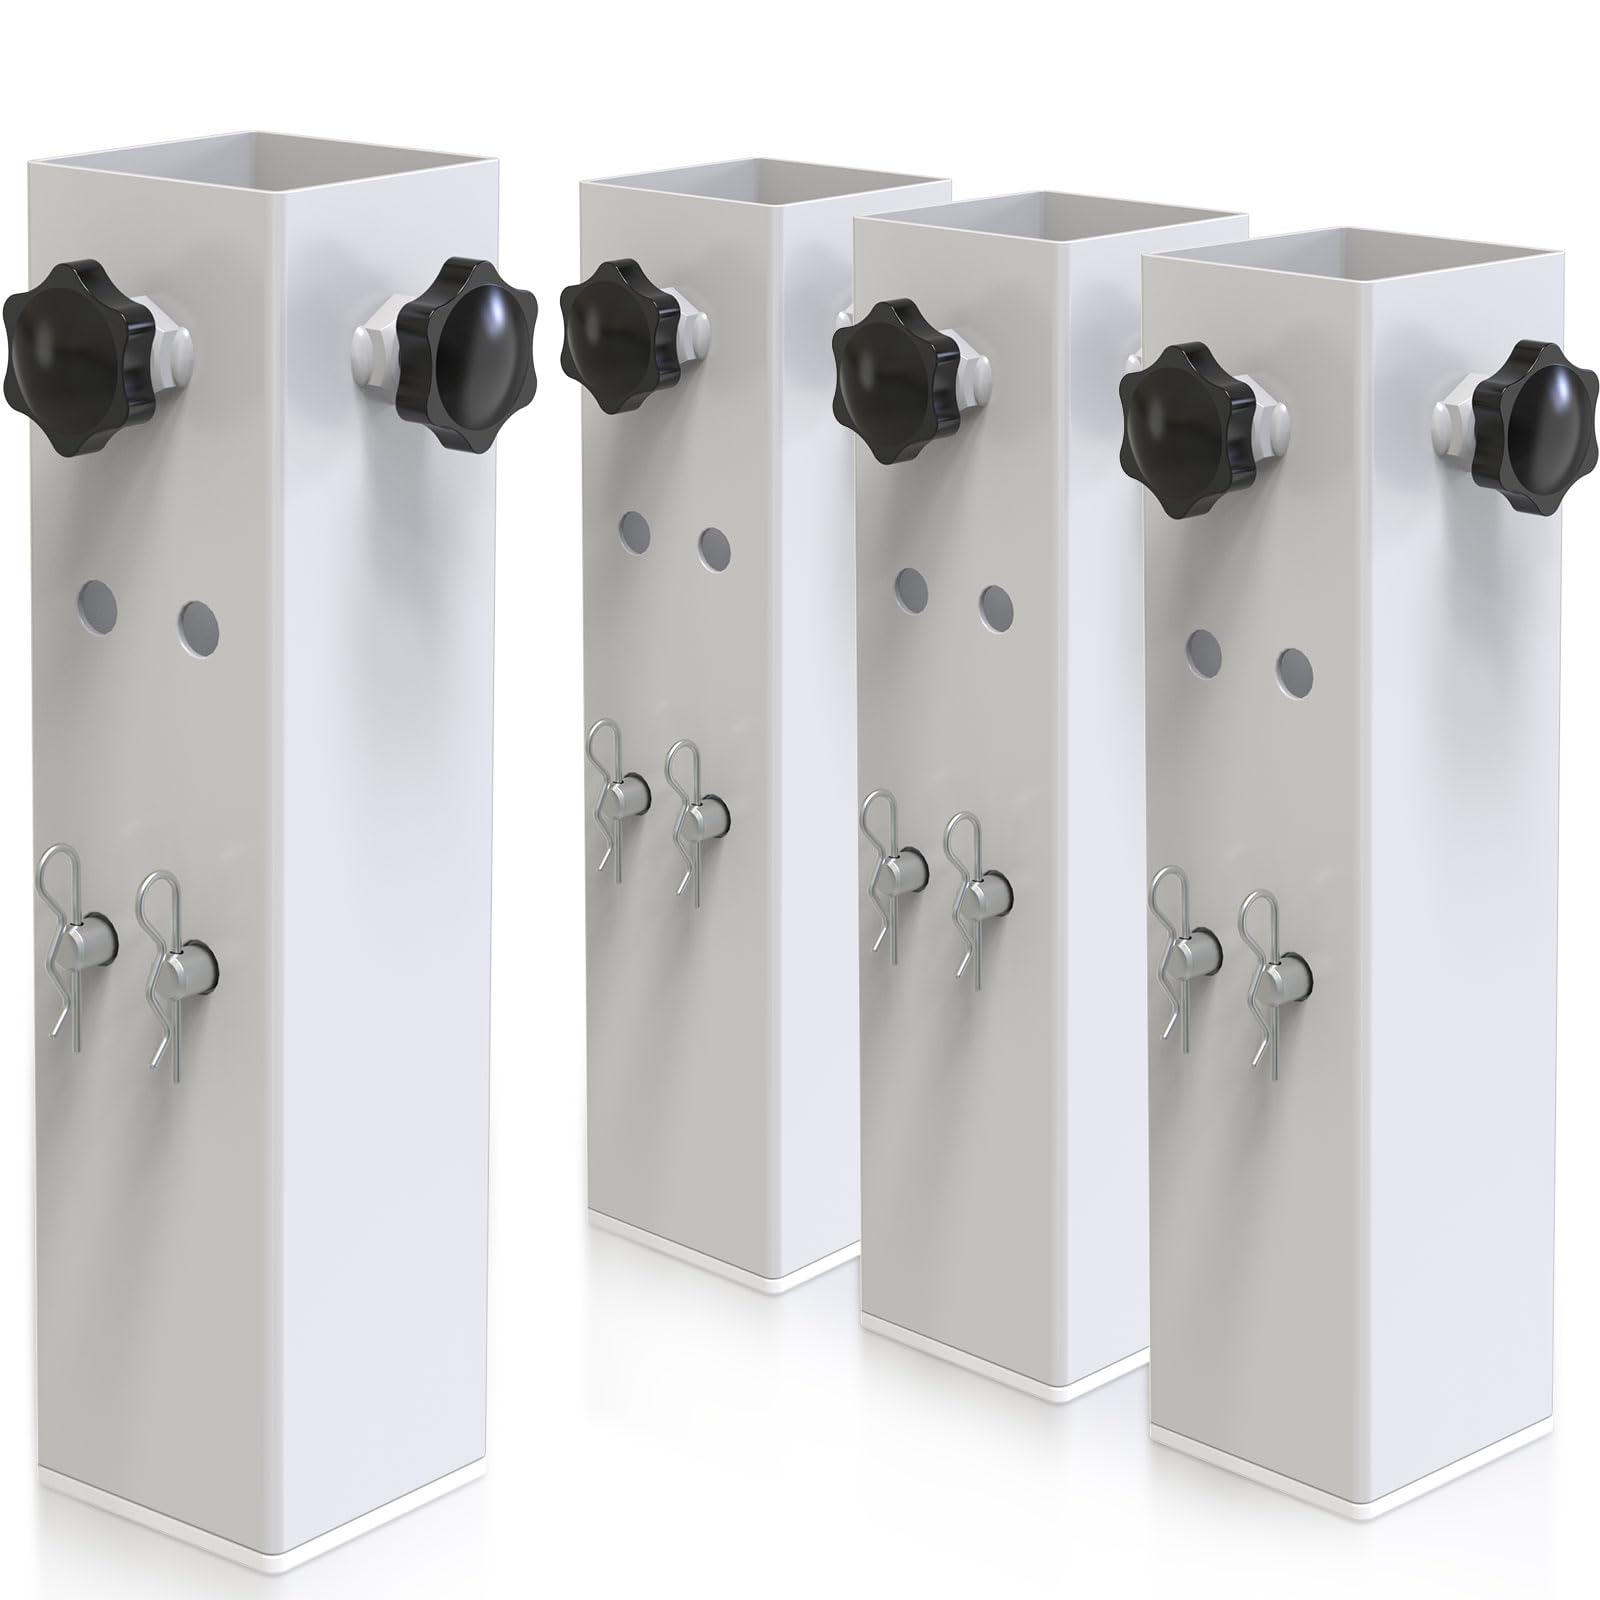
Not all risers work with metal bed legs. The wrong type causes slipping, wobbling, or leg damage. Metal frames typically have one of three leg types requiring specific riser designs.
Matching Riser Cups to Metal Leg Shapes
Hollow tube legs (common on platform beds):
– Look for risers with a central plastic peg that inserts into the tube
– Test fit: The peg should occupy 70% of the tube’s interior diameter
– Warning: Smooth plastic pegs in metal tubes cause dangerous slippage—choose rubber-coated pegs
Flat-bottom legs (bolted plates):
– Requires flat-top risers with non-slip rubber surfaces
– Critical check: Rubber tread must cover 100% of the riser’s top surface
– Avoid: Risers with recessed cups—they’ll make flat legs unstable
Tapered legs (conical metal feet):
– Needs adjustable collar risers with tightening screws
– Pro tip: Place a rubber washer between leg and riser to prevent metal grinding
Metal vs. Plastic Risers: The Strength Showdown
| Feature | Plastic Risers | Metal Risers |
|---|---|---|
| Max Weight | 800 lbs/riser | 2,000+ lbs/riser |
| Noise Level | Low (with pads) | High (requires dampening) |
| Floor Scratches | Rare | Common without felt pads |
| Cost | $15-$25/set | $30-$50/set |
For metal frames, heavy-duty plastic remains the top choice—it absorbs vibration better than metal-on-metal. Only choose metal risers if your frame exceeds 1,200 lbs total weight.
Install Risers Without Bending Your Metal Frame
Dragging metal frames across floors bends legs and strips protective coatings. The two-person lift method prevents $200 frame repairs. Allow 20 minutes for installation.
Step-by-Step Lift-and-Align Technique
- Clear 3-foot workspace around the bed and remove all bedding
- Position risers where legs will land—use painter’s tape to mark spots
- Lift one corner 3 inches off the floor (never slide!)
– Visual cue: Keep the frame parallel to the floor—no tilting - Slide riser under leg until centered in the cup
- Lower slowly while pressing leg into riser’s center
– Warning: Dropping causes micro-cracks in plastic risers - Repeat for all corners, checking alignment with a level
Securing the Critical Metal-to-Riser Connection
Metal legs vibrate loose on plastic risers within weeks without these steps:
– Place 1/8-inch thick rubber washers between leg and riser cup
– For hollow legs, tighten set screws until you feel resistance (over-tightening cracks plastic)
– Apply non-slip furniture pads under riser bases on hardwood floors
Test stability by shaking the bed frame side-to-side—zero movement means a secure fit. If wobbling occurs, disassemble and re-center legs.
Fix Wobbles and Squeaks in 5 Minutes Flat
Metal-on-riser noise isn’t normal—it signals dangerous instability. Address these issues immediately before sleep.
Emergency Squeak Elimination
Problem: High-pitched squeak when moving in bed
– Cause: Metal leg grinding against plastic riser
– Fix: Wedge folded felt pads into gap between leg and riser interior
– Pro tip: Rub candle wax on leg base to reduce friction
Problem: Bed rocks like a boat
– Cause: Uneven floors or misaligned risers
– Fix: Place cardboard shims under low riser corners (test with business card thickness first)
When Your Metal Leg Won’t Stay Centered
If legs constantly shift toward riser edges:
1. Remove riser and check for debris in cup
2. Trace leg outline on paper—compare to riser cup shape
3. If mismatched, buy risers with adjustable collars (e.g., “Universal Grip” models)
4. For hollow legs, wrap electrical tape around leg base to thicken diameter
Never force legs into ill-fitting risers—this cracks plastic housings.
Monthly Safety Checks Every Metal Frame Owner Must Do
Risers degrade faster under metal frames due to constant vibration. Skip these checks, and you risk collapse within 6 months.
The 60-Second Stability Test
- Sit firmly on bed edge—no more than 1-inch sway is acceptable
- Press down hard on each corner—risers shouldn’t compress or tilt
- Inspect riser bases for floor indentations (sign of overload)
Quarterly Deep Inspection Protocol
- Enlist helper to lift one bed corner 6 inches
- Slide riser out and check for:
– Hairline cracks (discard immediately if found)
– Debris buildup in cup (clean with damp cloth)
– Worn rubber pads (replace if less than 1/16″ thick) - Vacuum under-bed area to prevent uneven settling
Replace plastic risers every 2 years—metal frames accelerate wear.
Why Metal Frames Demand Higher Safety Margins
That “1,000-lb per riser” rating? It’s tested on perfect lab floors with static weights. Real-world metal frames create dynamic loads 3x higher during sleep. When you roll over, one riser absorbs 300+ lbs of sudden force. Plastic risers rated exactly at your calculated weight will fail within months.
Always buy risers with double your calculated minimum capacity. For a 155-lb per-riser need, choose 300-lb models—but since metal frames require 1,000-lb units minimum, never go below that threshold. In earthquake zones, add seismic straps from bed frame to wall studs—elevated metal beds become dangerous projectiles during tremors.
Using bed risers with your metal frame unlocks valuable storage and ergonomic benefits when done correctly. Prioritize weight capacity over cost, never skip the stability test, and replace risers proactively. Your safety depends on respecting metal’s unique demands—follow these steps, and you’ll sleep soundly knowing your elevated bed won’t collapse beneath you. For persistent wobble issues, consider adding a bunkie board under your mattress to distribute weight more evenly across the frame.


