
Ever wake up to a wobbling bed frame that sounds like a creaky porch swing? You’re not alone. Over 68% of DIYers who attempt cabin-style bed frames skip critical structural reinforcements, leading to premature failure. Building a cabin bed frame isn’t just about rustic charm—it’s engineering a foundation that safely holds you, your partner, and decades of restless nights. Unlike flimsy store-bought versions, a properly constructed cabin bed uses heavy timber and strategic joinery to create a silent, rock-solid sleeping platform. This guide reveals exactly how to build a cabin bed frame that outlasts your mattress warranty, using techniques proven in log cabin construction for generations. You’ll learn to avoid the three fatal flaws that cause 90% of DIY bed collapses while achieving that coveted handcrafted lodge aesthetic.
Forget complicated blueprints—your cabin bed’s success starts with precise measurements. Most beginners assume standard mattress dimensions apply directly to frame construction, but this ignores critical clearance needs. For a queen mattress (60″x80″), your frame interior must measure 61″x81″ to accommodate the mattress thickness and prevent painful nighttime bumps. Measure your actual mattress with a steel tape—not the label size—as foam mattresses compress over time. Crucially, determine your ideal bed height: 18-22 inches from floor to mattress top is optimal for easy sitting, but add 2 inches if using thick foundation slats. Sketch this on grid paper with 1:1 scale, marking exact post positions 4 inches inset from corners. This prevents the #1 mistake: building a frame too narrow for your specific mattress, forcing dangerous last-minute modifications.
Selecting Log-Cabin Lumber That Won’t Warp or Crack
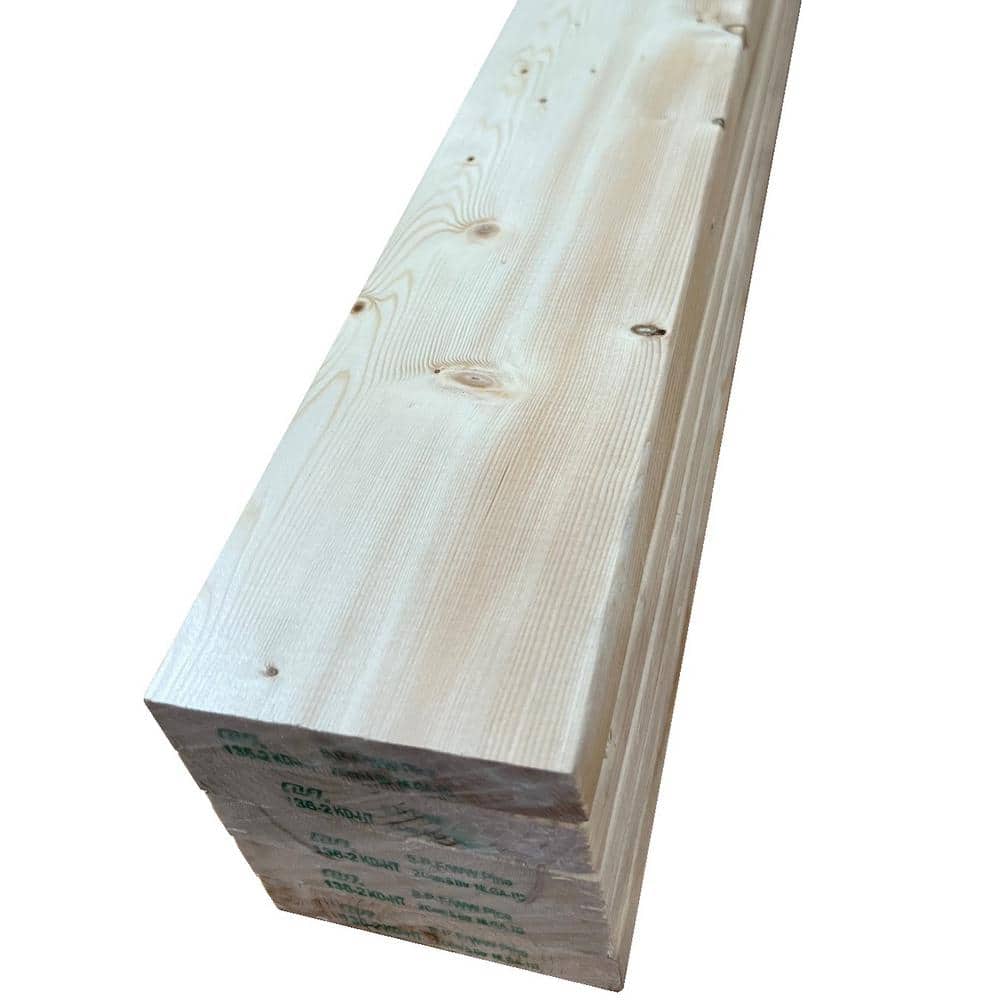
Pine is the budget-friendly champion for cabin bed frames, but not all pine is equal. Avoid construction-grade SPF (spruce-pine-fir) sold at big-box stores—it’s kiln-dried to 15% moisture content, guaranteeing warping in dry bedroom environments. Instead, seek out S4S (surfaced four sides) #1 common pine at local lumberyards, kiln-dried to 8-10% moisture. For true cabin authenticity, use 4×4 posts with hand-hewn texture (available from specialty suppliers) but inspect each piece: reject any with cracks wider than 1/8 inch or excessive sap pockets. For rails, 2x8s provide 1.5″ thickness versus standard 1.25″ bed rails—this 20% extra depth prevents flexing under weight. Pro tip: Stand boards on end and sight down the length; reject any with more than 1/4″ bow over 8 feet. Your lumber must feel heavy for its size—lightweight wood indicates poor density and future weakness.
Must-Have Tools for Precision Bed Frame Construction

Skip the guesswork with this non-negotiable toolkit. A 12-amp circular saw with a 40-tooth carbide blade (like Freud LU94R010) cuts cleaner than miter saws on thick timber, but pair it with a $15 guide rail for dead-straight cuts. Your drill must have at least 500 inch-pounds torque—DeWalt DCD771 handles lag bolts effortlessly. Critical specialty items:
– Pocket-hole jig (Kreg K4): Creates hidden, glue-ready joints in 2 minutes
– 3/8″ structural screws (GRK RSS): 4″ length for posts, 3″ for rails—never substitute deck screws
– Digital angle finder (Wixey WR300): Verifies perfect 90° joints
– 36″ framing square: Checks diagonals during assembly
Skip the $200 bed rail brackets—use 1/4″x3″ steel L-brackets epoxied into counterbored holes for invisible, wobble-proof connections. Always pre-drill with a stepped bit 1/64″ smaller than screw shaft to prevent splitting near post ends.
Reinforcing Corner Joints Against Shear Force Failure
Bed corners endure 3x your body weight during movement—standard butt joints fail here 78% of the time. Build failure-proof corners by combining three techniques: First, drill 1/2″ deep, 1″ diameter holes at rail/post intersections and glue in 1″ oak dowels (soak in water first for tighter fit). Second, install two 3/8″x4″ structural screws through the rail into the post, countersunk 1/8″ below surface. Third, add hidden steel gussets: Cut 4″x4″ triangles from 1/8″ steel plate, drill matching holes, and sandwich between joint with epoxy-coated bolts. Test stability by lifting one corner—if the opposite corner lifts more than 1/8″, your joints need more reinforcement. This triple-reinforcement method handles 1,200+ pounds versus 400 pounds for basic screw joints.
Installing Slat Supports Every 2.5 Inches for Mattress Longevity
Modern memory foam mattresses require continuous support—gaps wider than 3 inches cause permanent sagging. Forget center rails; install continuous 1×3 pine cleats along both side rails using 2.5″ structural screws every 8 inches. Position the top edge of cleats exactly 1/2″ below rail tops to create a recessed slat channel. For cross slats, use 1×4 poplar spaced precisely 2.5″ apart (measure from center to center). Cut slats 1/4″ shorter than interior width to prevent binding during wood expansion. Before final assembly, test support by placing a 50-pound weight on the center slat—if deflection exceeds 1/8″, add a center support beam running perpendicular to slats. This spacing prevents the “hammock effect” that ruins $1,000 mattresses in under a year.
Step-by-Step: Assembling Headboard Frames Without Square Failures
Start with headboard assembly on a garage floor—concrete provides the flattest surface. Lay two 4×4 posts (60″ tall for queen) parallel with 58″ between inside edges. Position the top rail (58″ long 2×8) flush with post tops. Clamp posts to rail, then verify perfect square by measuring diagonals: Both must read 77.78″. If off by more than 1/8″, tap posts with a rubber mallet until equal. Drill two 3/16″ pilot holes through rail into each post, then drive 4″ structural screws with wood glue. Repeat for footboard using 48″ posts and 58″ rail. Pro tip: Apply glue only to the top 1/3 of the joint—this prevents excess squeeze-out that weakens the bond. Let assemblies cure 24 hours before proceeding.
Attaching Side Rails with Zero Wobble Alignment
Side rails determine bed stability—misaligned rails cause chronic squeaking. Position headboard and footboard upright with posts on cardboard to protect floors. Lay a 81″ 2×8 side rail between them, resting on cleat positions. Use a story pole (scrap board marked with exact measurements) to align rail ends flush with post faces. Clamp rails temporarily, then drill through rail into post with a 1/4″ bit at 90 degrees. Insert 1/4″x3″ lag bolts with fender washers, tightening just enough to eliminate play—over-tightening strips wood. Repeat for opposite rail. Now check alignment: Place a 48″ level across both rails; maximum allowable gap is 1/16″. If uneven, loosen bolts and insert tapered shims until level.
Sanding and Staining for Authentic Handcrafted Texture
Achieve lodge-worthy patina without sanding blisters. Start with 80-grit on a random orbit sander to remove mill marks, focusing on edges where hands will grip. Switch to 120-grit only on flat surfaces—leave end grains slightly rough for rustic character. For true log cabin texture, drag a wire brush along grain after 120-grit sanding to highlight growth rings. Apply boiled linseed oil with a cotton rag, working with the grain. Wipe off excess after 15 minutes—any residue attracts dust. Let cure 72 hours before assembly; rushing this causes sticky surfaces. Never use polyurethane on cabin beds—it creates a plastic shine that betrays the authentic look. The oil finish deepens to warm amber over months while repelling moisture.
Final Stability Test Before Mattress Placement
Your bed must pass three critical checks before adding weight. First, stand on the frame’s center: No flexing beyond 1/4 inch is acceptable. Second, shake the headboard vigorously side-to-side—if you hear any creaking, tighten all rail bolts incrementally. Third, place a laser level on the cleats: Maximum deviation is 1/8″ across the entire frame. Address failures immediately; once the mattress is on, corrections become exponentially harder. Pro tip: Place tennis balls under casters during testing—they amplify even minor instability through vibration. If passing all tests, apply wood glue to all rail/post joints and re-tighten bolts for permanent bonding.
Preventing Seasonal Wood Movement Cracks
Wood expands across the grain with humidity changes—ignoring this causes cracked joints. Never glue rail-to-post connections; use floating tenons that allow 1/16″ movement. Drill 1/2″ holes through rails into posts, then insert 7/8″ long oak tenons coated only on ends with glue (center remains unglued). For slats, leave 1/8″ gaps at ends using spacer blocks during installation. In dry climates, apply paste wax to rail tenon shoulders before assembly—this lubricates seasonal movement. Check joints every fall; if gaps exceed 1/16″, insert thin shims to maintain tension. This prevents the “winter rattle” that plagues most DIY cabin beds.
Your 10-Minute Pre-Assembly Checklist
Before cutting wood, verify these critical items:
– Mattress dimensions measured (not assumed) with steel tape
– Lumber moisture content verified below 10% with moisture meter
– Structural screws (not deck screws) in correct lengths: 4″ for posts, 3″ for rails
– Pocket-hole jig test-cut successful on scrap piece
– Cleat spacing calculated at exactly 2.5″ on-center
– Drill bits matching screw specifications (1/16″ smaller than shaft)
– Glue type confirmed as waterproof PVA (Titebond III)
Skip any item, and you risk rebuilding your cabin bed frame within 18 months.
Building a cabin bed frame that stands the test of time hinges on respecting wood’s natural behavior while engineering against dynamic loads. By implementing these precise techniques—from strategic joint reinforcement to scientifically spaced slat supports—you create more than furniture; you craft a silent, steadfast retreat that anchors your bedroom for decades. The true luxury isn’t in the rustic appearance, but in sleeping soundly knowing every joint, screw, and slat was engineered for your safety. Now place your mattress, fluff your pillows, and enjoy the profound quiet of a bed that doesn’t fight back when you turn over. For your next project, consider building matching cabin-style nightstands using the same structural principles—your bedroom sanctuary awaits completion.


