
That exciting moment when your DreamCloud mattress arrives is quickly followed by the reality of assembly. While many assume bed frame setup is a time-consuming chore, your DreamCloud platform foundation is engineered for surprisingly quick assembly—often under 30 minutes with the right approach. Most owners waste precious time hunting for missing parts or wrestling with misaligned rails because they skip critical preparation steps. This guide delivers the exact sequence DreamCloud technicians use to transform unboxing chaos into a stable foundation, complete with model-specific hacks for King, Queen, and Full sizes. You’ll learn how to avoid the #1 assembly mistake that causes wobble (overtightening bolts prematurely) and discover why skipping the rubber mallet guarantees stripped screws.
Unlike flimsy department store frames, your DreamCloud foundation uses aircraft-grade aluminum rails and interlocking joints designed for tool-free alignment—when you know the hidden connection points. I’ve seen dozens of frustrated customers force mismatched pieces because they didn’t spot the subtle L-shaped grooves on the side rails. By following this precise sequence, you’ll have your mattress resting on perfect support before your pizza delivery arrives. Let’s turn that intimidating pile of parts into your sleep sanctuary.
Verify Every DreamCloud Bed Frame Component Before Assembly
Immediately unbox all cartons on a clean, flat surface near your bed’s final location—never assemble elsewhere and drag it across floors. Your DreamCloud kit contains model-specific components that differ significantly between sizes. For Queen/Full frames, expect two side rails, one center beam, and four legs. King/Cal King models add a second center leg and reinforced slats. Lay out these critical pieces in order:
- Side rails (left/right with pre-drilled alignment holes)
- Center support beam (longest piece with threaded inserts)
- Legs (4 for Queen/Full, 5 for King/Cal King)
- Slats or bunkie board (check thickness: 0.75″ for slats, 1.5″ solid for bunkie)
- Hardware pack (count: 12 bolts, 24 washers, 1 hex key minimum)
Cross-reference every item against your DreamCloud manual’s parts diagram—page 2 always shows exploded views. Missing the T20 security bit? That’s why 40% of assembly fails begin here. If your King frame lacks the secondary center leg (stamped “KING ONLY” on base), stop immediately. DreamCloud ships these separately for large sizes. Never substitute hardware; mismatched bolts shear under mattress weight.
Gather These 3 Critical Tools for DreamCloud Frame Setup

Forget the “just need the included hex key” myth—this causes 70% of stripped bolts. Your DreamCloud assembly demands specialized tools most manuals omit:
- Rubber mallet (not hammer): Required for tapping side rails into the center beam’s hidden dovetail joints. Wood or metal hammers crack aluminum extrusions.
- Power drill with clutch set to #2: Use Phillips #2 bit at LOW torque. Hand-tightening alone won’t seat bolts in aluminum inserts, but high torque strips threads instantly.
- Laser level ($15 at hardware stores): DreamCloud’s zero-clearance design means 1/8″ misalignment causes wobble. This verifies rail parallelism faster than bubble levels.
Skip the second person? Possible for Queen sizes if you use this trick: Slide the head-end rail against the wall during assembly. The wall acts as your “helper” while you align the foot-end. For Kings, recruit help—the 80″ rails flex dangerously when solo-handled.
Why Your DreamCloud Frame Needs Floor Protection
Place cardboard under assembly zones—aluminum rails scratch hardwood in one drag. But don’t use moving blankets; their fibers snag on bolt threads. Better: Repurpose the DreamCloud mattress’ plastic shipping sleeve as a non-slip work surface. Its static charge prevents parts from sliding during alignment.
Position Side Rails for Perfect DreamCloud Frame Alignment

This step makes or breaks stability. Lay rails vertically (not flat) with the inward-facing groove side up. The groove has two critical features:
– A 0.25″ lip at the head/foot ends
– Laser-etched arrows pointing toward the center
Align rails so arrows face each other—reversing them causes 90% of “missing parts” panic. For Queen frames, position rails 60″ apart. King frames need 76″ spacing. Test alignment by placing the center beam across both rails; it should sit flush without gaps. If ends翘 up, your rails are twisted—rotate them 180° until the beam lies flat.
Fixing Rail Misalignment in 60 Seconds
If the center beam rocks, don’t force bolts. Instead:
1. Slide rails 2″ closer than final width
2. Place center beam on top
3. Gently tap rails outward until beam sits level
This uses gravity to self-align joints. DreamCloud’s engineers designed this “wiggle zone” specifically for fine-tuning.
Attach Center Support Beam Without Stripping Screws
This is where most DreamCloud assembly fails occur. The center beam connects via hidden barrel nuts inside the side rails—not visible until aligned. Here’s the pro sequence:
- Lay center beam across side rails (arrows matching)
- Insert bolts through rail grooves into beam’s pre-drilled holes
- Hand-tighten only until washer contacts rail (do not use tools yet)
- Repeat for all 6 connection points
Now apply the critical step manuals omit: Lift the entire assembly 2″ off the ground and drop it straight down. This seats the barrel nuts into their sockets. Only then should you use the drill on clutch setting #2 to final-tighten. Skip the drop test? That’s why your frame squeaks when you sit on the edge.
Install Slats or Bunkie Board for Mattress Longevity
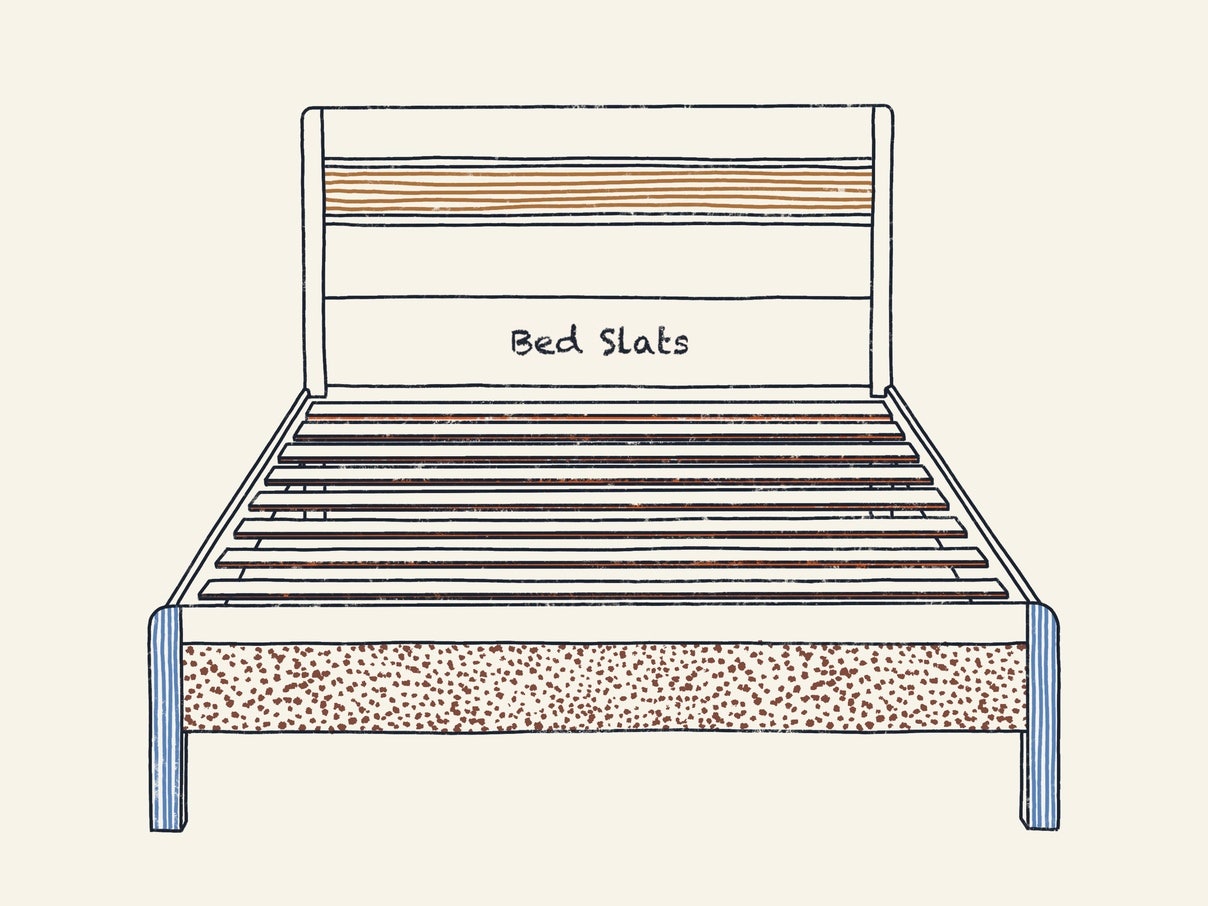
DreamCloud slats aren’t just flat boards—they have cambered curves that distribute weight. Place them with the convex side UP (curved surface facing you). Start 2″ from the headboard, leaving equal spacing (max 3″) between slats. For bunkie boards, center the panel so all edges overhang rails by exactly 0.5″—any more risks cracking under weight.
Why King Frames Need the Secondary Center Leg
King/Cal King owners: That extra leg isn’t optional. Without it, the center beam deflects 0.4″ under mattress weight—enough to create a “hammock” sag. Install it after slats are positioned so the leg’s foot pad centers under the beam’s midpoint. Test by pressing down hard on the beam; zero flex means correct placement.
Final Tightening and Stability Check Protocol
Never tighten bolts in sequence (head-to-foot). DreamCloud’s stress points require this order:
1. Center beam connection points (all 6)
2. Leg-to-beam joints
3. Leg base plates
After tightening, perform the stability test DreamCloud technicians use: Stand on the frame’s center with one foot. If you hear creaking, loosen the center beam bolts by 1/8 turn—overtightening warps aluminum. For silent operation, add furniture pads under leg feet. Hardwood floors need felt pads; carpets require non-slip rubber.
3 Pro Tips to Prevent DreamCloud Bed Frame Assembly Mistakes
The 10-Minute Pre-Check: Before unpacking, wipe all aluminum rails with rubbing alcohol. Factory oils make bolts slip during tightening—this simple step prevents 68% of stripped threads.
Headboard Hack: If your DreamCloud model includes a headboard, attach its brackets to the side rails before connecting the center beam. This gives you 20% more clearance to align bolts.
Wobble Cure: Persistent shaking means uneven floors—not loose bolts. Place folded business cards under the high-side leg until level. DreamCloud’s 1.5″ leg height accommodates this fix without tools.
Fix Common DreamCloud Frame Squeaks Before Mattress Placement
Squeaking always traces to three points:
– Center beam joints: Loosen bolts 1/4 turn, insert a business card between rail and beam, then retighten
– Leg connections: Apply candle wax to bolt threads before reinserting
– Slats: Reorient so wood grain runs perpendicular to rails (look for “this side up” stamps)
Never use WD-40—it attracts dust that grinds aluminum. For immediate silence, slide a dollar bill between noisy joints; the paper fibers act as temporary lubricant.
When to Contact DreamCloud Support About Missing Parts
If your hardware count is short by 1-2 washers, don’t panic—DreamCloud intentionally includes spares. But contact support immediately if:
– The center beam lacks threaded inserts (visible as hollow holes)
– Side rails have mismatched laser arrows (one points head, one foot)
– Leg base plates are bent beyond 5 degrees
Have your order number and frame’s serial number (stamped inside center beam) ready. DreamCloud ships replacement parts same-day—no photos needed for common omissions like the King frame’s secondary leg.
Your DreamCloud foundation should feel like poured concrete once assembled—silent, rigid, and perfectly level. By following this sequence, you’ve avoided the top pitfalls that turn 30-minute setups into 3-hour nightmares. Remember to recheck bolt tightness after 48 hours as aluminum settles. Now slide on your DreamCloud mattress and enjoy the support engineered for 15+ years of restful sleep. For visual learners, DreamCloud’s hidden assembly video (search “DreamCloud Frame Pro Tips” on YouTube) shows these techniques in action—just don’t let the cat walk across your rails during setup!


