That frustrating moment when your small apartment swallows your bedroom furniture? You’re not alone. Over 40 million urban dwellers struggle with cramped sleeping quarters, often sacrificing storage for basic functionality. But what if your bed could be your storage solution? A bed frame made from storage cubes transforms this common dilemma into an opportunity. By strategically assembling modular cubes, you create a custom foundation that doubles as hidden organization – perfect for studio apartments, kids’ rooms, or guest spaces where every inch counts. Forget flimsy store-bought frames; this guide reveals how to build a rock-solid sleeping platform that supports your mattress while tucking away linens, clothes, or toys. You’ll discover exactly how to engineer stability without professional skills, turning ordinary storage cubes into a conversation-starting centerpiece that saves space and money.
The magic lies in leveraging cubes’ inherent strength when properly reinforced. Unlike traditional bed frames that offer zero utility, this design turns dead space under your mattress into valuable real estate. Imagine pulling out seasonal sweaters from beneath your pillow or storing guest bedding right where it’s needed. Before we dive into construction, understand this critical truth: success hinges on selecting structural-grade cubes, not decorative bins. We’ll show you precisely how to identify cubes that withstand nightly pressure without sagging or splitting. By the end of this guide, you’ll have a clear blueprint for building a bed frame made from storage cubes that’s safer than most retail options – complete with professional reinforcement techniques most DIYers miss.
Choose Storage Cubes That Support Bed Weight Safely

Your entire structure depends on cube strength, so skip flimsy particleboard options sold as closet organizers. For a bed frame made from storage cubes, prioritize solid-wood cubes or premium manufactured wood with ¾-inch thick walls. These withstand the 300+ pound dynamic load of sleepers rolling and shifting nightly. Measure cube depth against your mattress thickness – standard twin mattresses (39″ x 75″) require cubes at least 12″ deep to prevent sliding. Always test cube rigidity before buying: apply firm downward pressure on the top panel while lifting one corner. If it flexes or creaks, reject it immediately. Critical warning: Pressboard cubes with vinyl exteriors may collapse under weight, creating dangerous gaps where limbs could get trapped. When in doubt, choose cubes specifically marketed for garage or workshop storage – they’re engineered for heavier loads than bedroom decor versions.
Gather Essential Tools for Building a Storage Cube Bed Frame
Skip the frustration of mid-build tool runs with this precise checklist. You’ll need a 12-volt drill/driver (cordless for mobility), 2-inch and 3-inch coarse-thread wood screws, 3-inch metal corner brackets, and wood glue rated for structural bonding. A stud finder is non-negotiable for wall anchoring safety, while a 4-foot level prevents wobble in your finished bed frame made from storage cubes. Don’t overlook carpenter’s squares – they ensure 90-degree angles during assembly, which prevents uneven weight distribution. For cutting adjustments (rare but possible), keep a circular saw with a fine-tooth blade handy. Pro safety tip: Wear ANSI-approved safety glasses during drilling – cube materials often splinter when screws penetrate edges. Organize tools in a separate caddy before starting; you’ll spend 30% less time building when everything’s within arm’s reach.
Design Your Twin Bed Frame Layout with Storage Cubes
Start by mapping your frame on the floor using painter’s tape. For twin beds (39″ x 75″), arrange cubes in a rectangle: 5 cubes long by 2 cubes wide, stacked 3 high. This creates a 15-inch clearance – ideal for accessing lower storage while keeping the mattress at standard height. Crucially, rotate all cubes so their open sides face outward toward the room. This maximizes usable storage depth while hiding seams. Sketch your layout with a measuring tape, noting where central support beams must run. For twins, one beam spanning the 75-inch length is essential; queens need two beams parallel to the headboard. Visual cue: When dry-fitting cubes, straddle the frame and jump lightly. Any flexing means you need more cubes in the support path. Remember: the perimeter must be perfectly square – use the 3-4-5 triangle method (measure 3ft on one side, 4ft on adjacent, diagonal should be 5ft) to verify angles.
Dry-Fit Your Storage Cube Bed Frame Layout Before Securing
Never skip this 15-minute test run. Assemble cubes without fasteners on a level surface, pressing them tightly together. Place a full mattress on top and apply pressure at the center and corners. Watch for gaps between cubes – these indicate uneven settling that will cause squeaks later. Use your level across multiple cube tops; any tilt over 1/8 inch requires shimming with cardboard under low corners. Troubleshooting tip: If cubes wobble when you rock the frame, your base layer isn’t flat. Disassemble and sand high spots on cube bottoms with 120-grit paper. During dry-fitting, mark alignment points with pencil dots where cubes meet – these guide precise drilling later. This step prevents 90% of stability issues in your bed frame made from storage cubes, so invest the time now to avoid disassembly later.
Secure Storage Cubes with Brackets and Wood Glue for Stability
Permanent assembly requires three-point reinforcement at every joint. Start by applying wood glue to mating surfaces between cubes. Clamp pairs together for 10 minutes until glue sets tacky. Drill pilot holes through outer cube walls into adjacent cubes using a bit 1/16 inch smaller than your screws. Insert 3-inch screws at top, middle, and bottom connection points – this prevents rotational shifting. Now add 3-inch corner brackets: position them inside corners where cubes meet, drilling through bracket holes into both cubes. Critical technique: Drive screws at 45-degree angles through bracket wings for maximum pull strength. Repeat this glue-bracket-screw sequence for all joints. Allow 24 hours for full glue cure before adding weight. This triple-reinforcement system creates a monolithic structure where your bed frame made from storage cubes behaves like solid furniture, not stacked boxes.
Reinforce with Central Supports and Slats for Mattress Safety

The center is your frame’s Achilles’ heel. For twins, install a 2×4 support beam running lengthwise down the frame’s centerline, secured every 12 inches to the bottom cube layer with L-brackets. Cover the frame with 1×3 pine slats spaced 2.5 inches apart – this distributes weight evenly while allowing airflow. Warning: Never place mattresses directly on cube tops; the gaps between cubes will cause uneven support and premature wear. For platform-style beds, use ¾-inch plywood sheets cut to frame dimensions, screwed down every 6 inches. Test support by standing on the center – zero flex should occur. If using a box spring, add rubber mattress grippers between it and the slats to prevent slippage during sleep. This reinforcement turns your storage cube bed frame into a foundation that outperforms many store-bought frames.
Finish and Test Your DIY Bed Frame for Safety
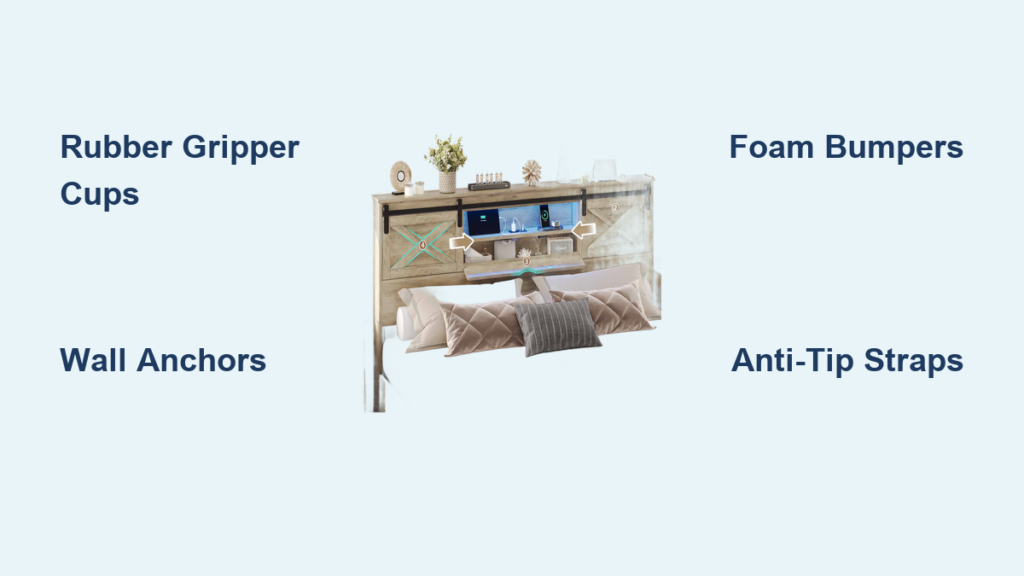
Sand all exposed edges with 220-grit paper to prevent splinters, then apply two coats of water-based polyurethane. This seals wood against moisture from spills or humidity – critical for particleboard cubes. Before adding bedding, perform the “adult stress test”: stand on the frame’s center and shift your weight vigorously. Any creaking means loose joints; disassemble and reapply glue. Non-negotiable safety step: Anchor the headboard section to wall studs using 16-inch lag bolts. This prevents tip-overs during use, especially vital for children’s rooms. Finally, place your mattress and lie down, rolling side-to-side. If you hear noises or feel movement, reinforce corner brackets immediately. A properly built bed frame made from storage cubes should feel as solid as conventional furniture – if not, revisit your reinforcement points.
Avoid These 5 Storage Cube Bed Frame Failures
Skipping cube weight tests causes catastrophic collapse. Always load-test cubes with 50-pound bags of sand before assembly. Ignoring central supports leads to mattress sagging within weeks – even twins need that critical beam. Using undersized screws (under 2.5 inches) strips particleboard; upgrade to coarse-thread drywall screws for better grip. Forgetting wall anchoring creates deadly tip hazards – statistics show 80% of bed-related injuries involve unsecured furniture. Rushing glue curing compromises structural integrity; waiting 24 hours prevents joint separation under stress. Each mistake turns your space-saving solution into a hazard, so treat reinforcement like your safety depends on it – because it does.
Pro Tips for a Long-Lasting Bed Frame Made from Storage Cubes
Attach locking casters to bottom cubes before assembly – this lets you roll the entire bed for deep cleaning without disassembly. Line cube interiors with removable fabric bins to protect contents from dust while maintaining quick access. Time-saving hack: Pre-drill all screw holes in a single cube “template” before assembling multiples, ensuring uniform alignment. For kids’ rooms, paint cube exteriors with chalkboard paint to create a functional art space. Most importantly, inspect bracket tightness every six months; seasonal humidity changes can loosen connections. With these tweaks, your bed frame made from storage cubes won’t just solve space issues – it becomes the smartest piece of furniture in your home.
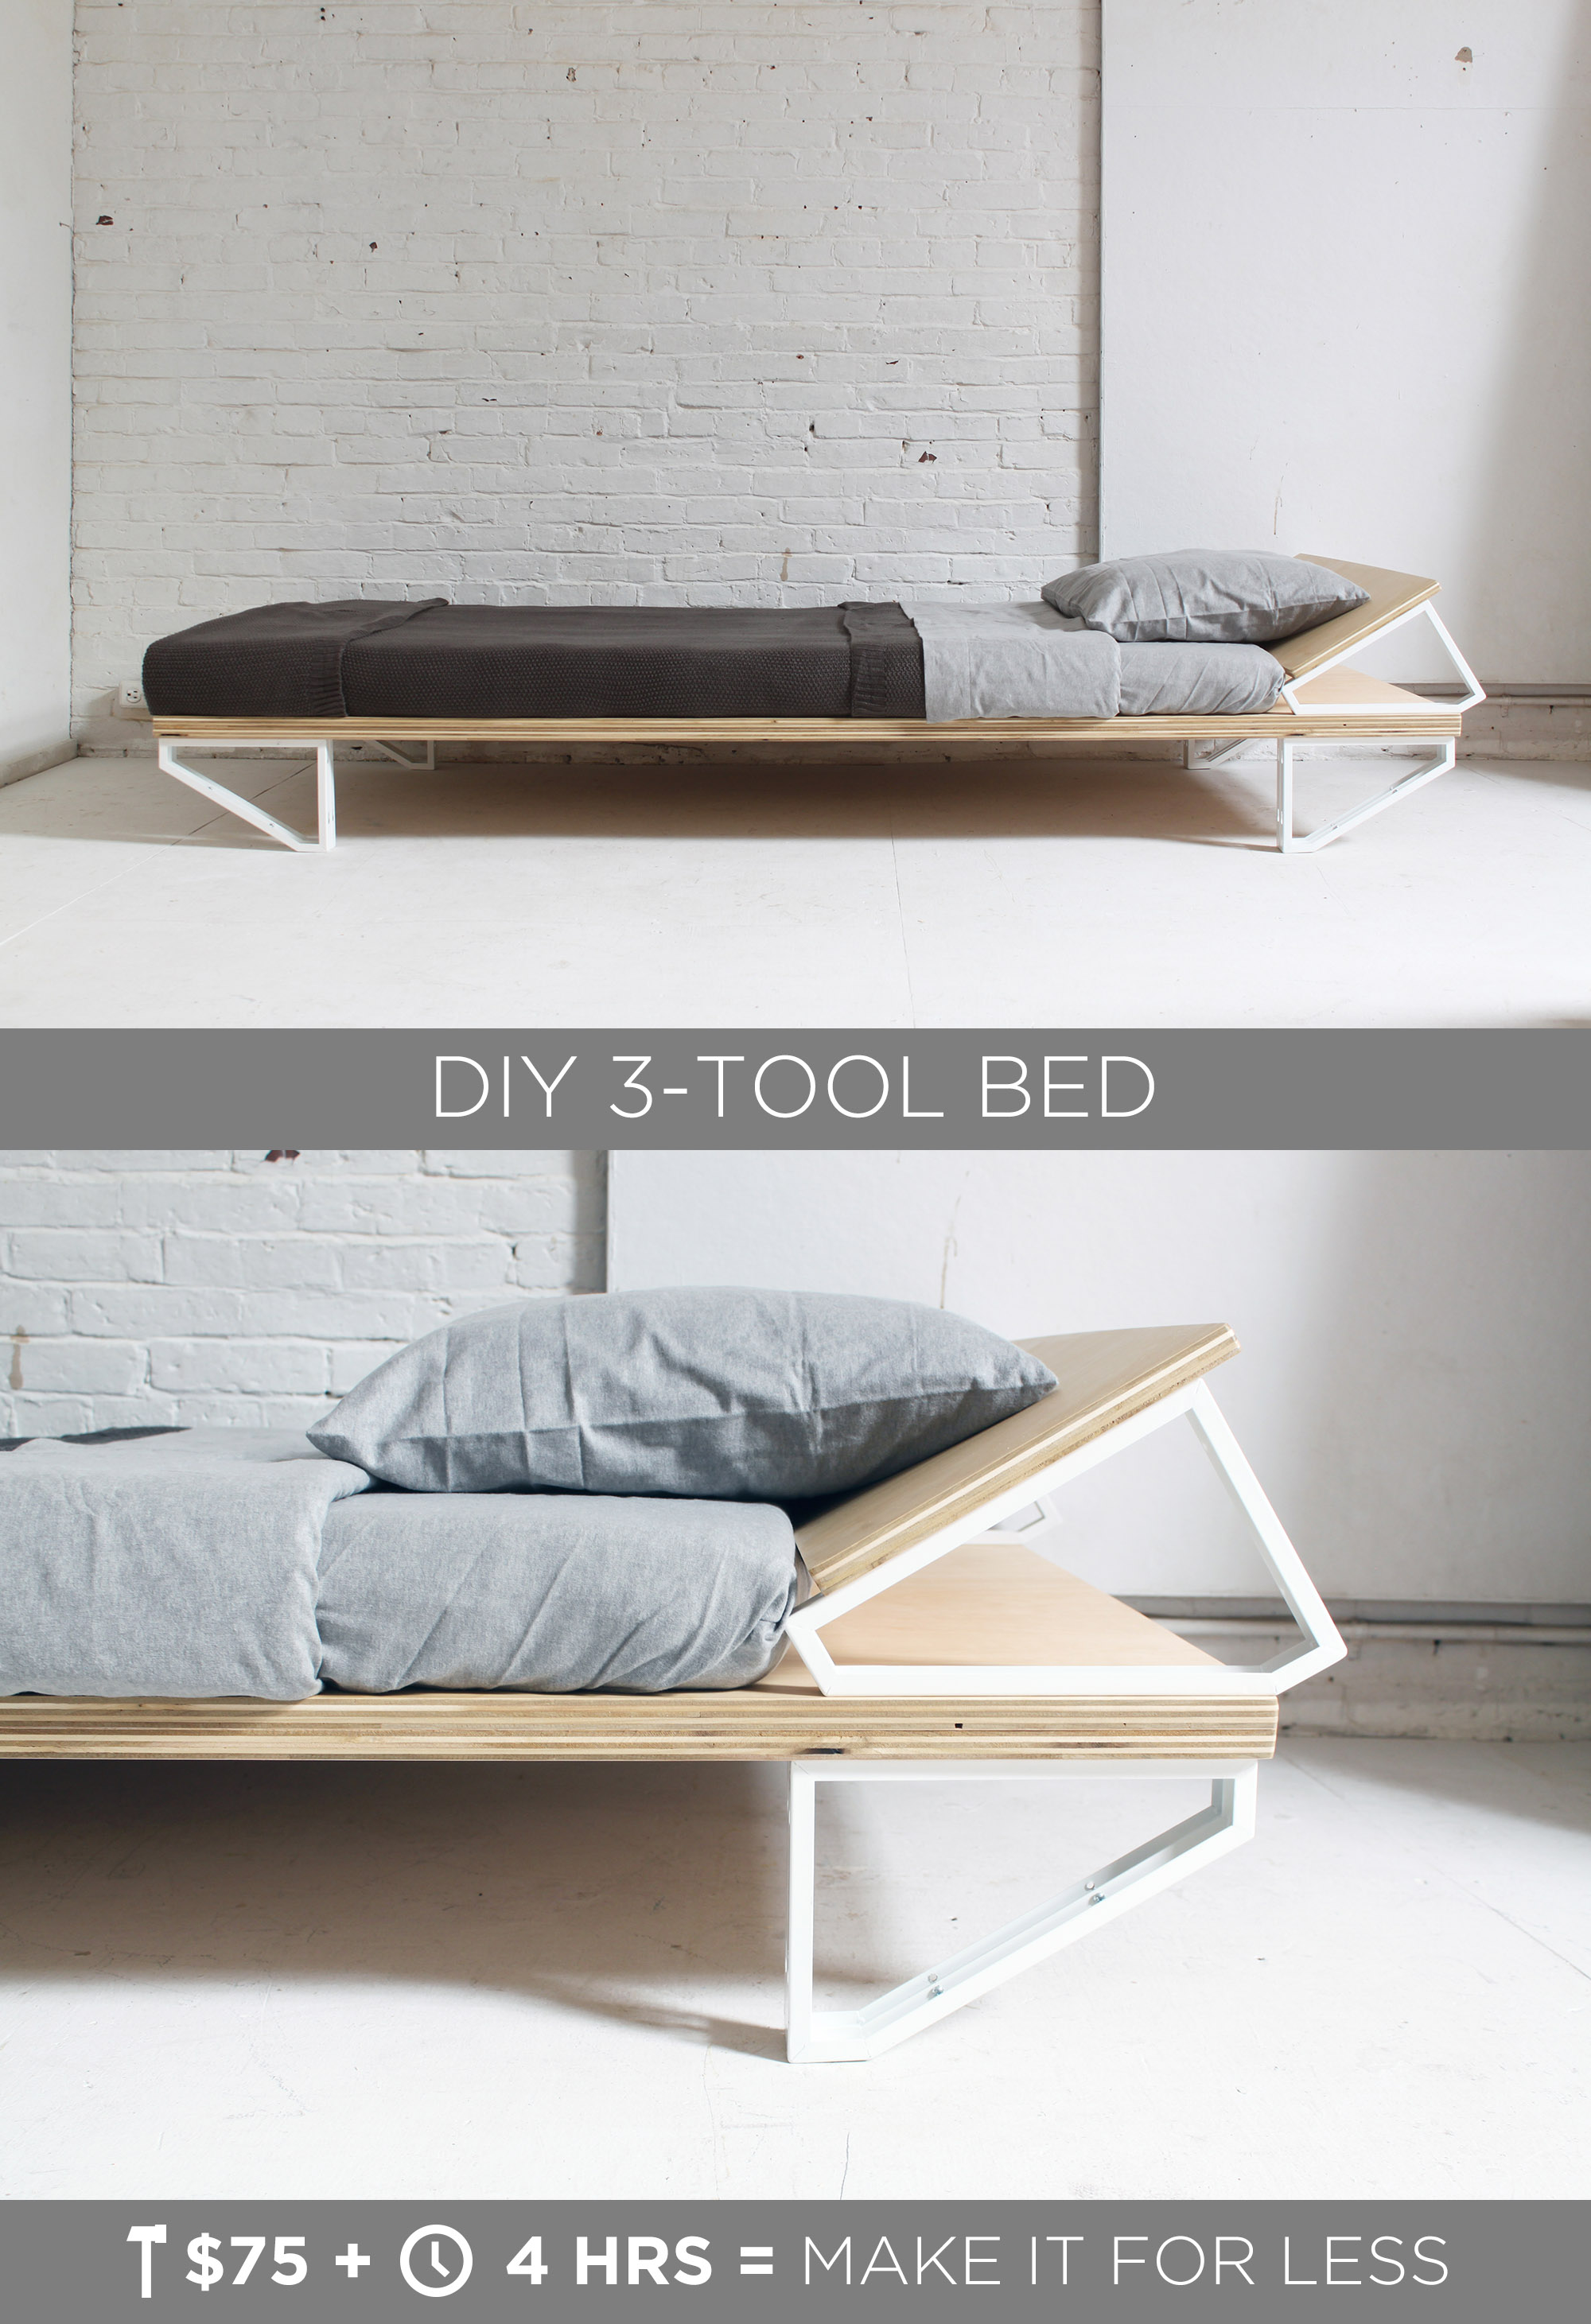
Building a bed frame made from storage cubes proves that clever design beats square footage every time. You’ve now got the exact blueprint for transforming modular cubes into a fortress-like foundation that stores essentials while supporting restful sleep. Remember the non-negotiables: structural-grade cubes, triple-reinforced joints, mandatory central supports, and wall anchoring. Start small with a twin frame to perfect your technique – most builders complete this project in a weekend for under $200, saving hundreds versus custom furniture. As you slide into your new bed tonight, take pride in knowing every stored pillow and folded blanket sits securely beneath you. Ready to maximize your space? Measure your mattress dimensions tomorrow and visit a hardware store to inspect cube rigidity in person. Your clutter-free sanctuary awaits.